 Garage
Enduro Hydration Packs: The Complete Guide
Staying hydrated in enduro is crucial. This guide helps you choose the right hydration pack volume, maintain it properly, and offers tips for a comfortable ride.
Enduro Hydration Packs: The Complete Guide to Choosing, Maintaining, and Riding
In enduro, whether you're battling up a technical climb or flying down a single track, one thing makes all the difference: hydration. Proper enduro riding hydration isn't just about comfort; it's about performance, focus, and safety. An enduro hydration pack, often called a Camelbak, isn't a luxury—it's essential gear. But with all the options out there, how do you find your way? Let's break it down together.
What Volume Enduro Hydration Pack Should You Choose?
The first question everyone asks is: what size pack should I get? The simple answer is: it depends on your rides. There's no one-size-fits-all, but here are some guidelines to help you choose.
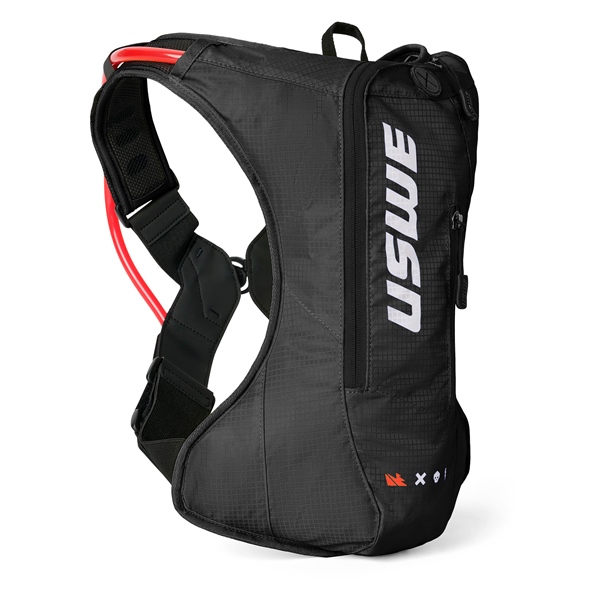
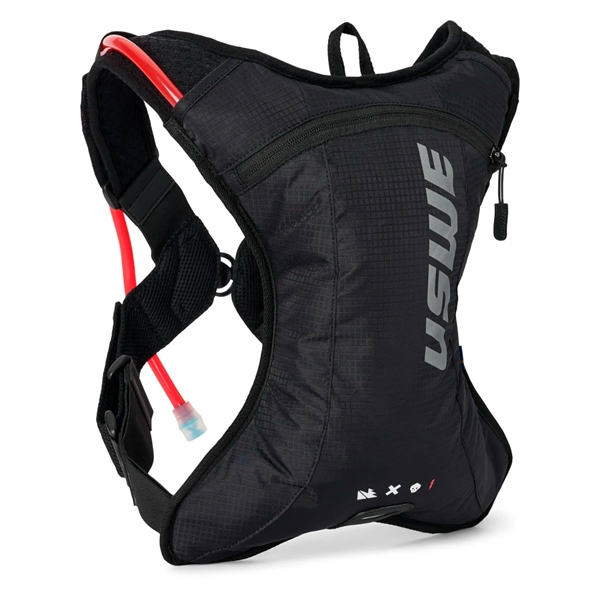
1-2 Liters: The Sprint and Race Format
This is the lightest and most compact option. It's ideal for:
- Short rides of 1 to 3 hours.
- Races like a motocross camelbak setup where every gram counts.
- Cooler days when you sweat less.
The advantage is that you barely feel it on your back. The disadvantage is that storage space for tools and snacks is often very limited.
2-3 Liters: The All-Rounder Standard
This is the sweet spot for the majority of enduro riders. A 2 or 3-liter enduro hydration backpack offers the best compromise. It allows you to carry enough water for a good 3 to 6-hour ride while also having room for the essentials: tools, phone, keys, and a bar or two. It's the most popular choice for good reason, covering 90% of the needs of both weekend warriors and dedicated riders.
3+ Liters: The Adventure Option
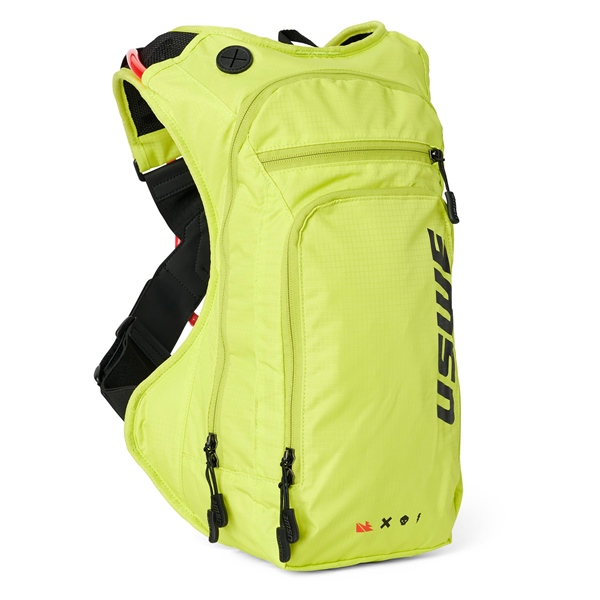
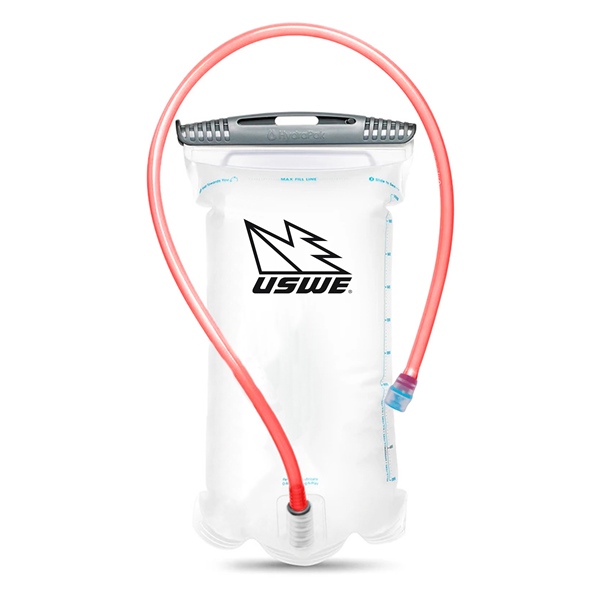
Heading out for a full day, far from civilization? This is what you need. These larger packs are designed for long rides where self-sufficiency is key. In addition to a large off-road motorcycle water bladder, they offer multiple compartments to store a rain jacket, a full lunch, more tools, and even spare parts. This is the pack for explorers.
How to Clean Your Motorcycle Hydration Pack
Owning a pack is great. Drinking water that tastes like moldy plastic is not. Proper maintenance is simple but essential to ensure the longevity of your gear and, more importantly, to keep you from getting sick. Here's how to make sure your water bladder stays clean.
After Every Ride: The Bare Minimum
Never let water sit in the bladder. That's rule number one.
- Empty: Completely drain the bladder and the hose.
- Rinse: Give it a quick rinse with warm water and a little mild soap.
- Dry: This is the most important step. Hang the bladder upside down, with something to prop it open (a hanger, a kitchen utensil, or a specialized drying rack) to let air circulate. Make sure it's 100% dry before storing it.
The Deep Clean
Do this once a month, or more often if you put sugary drinks in it (which we don't recommend!).
- Use effervescent cleaning tablets designed for this purpose, or a homemade mix of warm water with a spoonful of baking soda and a bit of lemon juice.
- Let it soak for 30 minutes.
- Use a brush kit (a long one for the hose, a larger one for the bladder) to scrub everything.
- Rinse thoroughly several times.
- Pro tip: Once clean and dry, store your empty water bladder in the freezer. The cold prevents bacteria from growing.
Carrying Tips and What to Pack
A hydration pack is also a backpack. Its comfort and utility depend on how you adjust and fill it.
The Fit is Key
A pack that bounces around on your back in the middle of a descent is annoying and dangerous. Use the straps! The chest (sternum) strap and the waist strap are there to secure the pack against your back. Adjust them so the pack is stable without restricting your breathing.
What to Put in Your Pack (Besides Water)?
The idea is to be prepared, not to move house. Here's a basic list:
- Tools: A quality multi-tool, tire levers, a flat repair kit (patches, plugs), a small pump or CO2 cartridges, and a quick link for your chain.
- Safety: A mini first-aid kit, your phone (in a waterproof bag!), your ID, and some cash.
- Extras: Snacks (energy bars, gels), zip-ties (they can be lifesavers!), and a small roll of electrical tape.
Place the heaviest items (like tools) at the bottom of the pack and as close to your back as possible for a better center of gravity.
Conclusion: Stay Hydrated, Ride Farther
Choosing and maintaining your enduro hydration pack is not rocket science. By picking the right volume for your needs, keeping it clean, and packing it smartly, you turn this accessory into your best ally on the trails. Proper hydration will keep you focused and performing well, and most importantly, it will let you enjoy every minute of your ride.
Ready to find the perfect pack for your adventures? Shop our selection of hydration packs and accessories on MathiasPowerParts.com and make sure you're always at your best on the trails!
💬 Comments (0)
Sign in to leave a comment
Sign inLoading…
Recommended by the author